CS180 Project 3 - Face Morphing
Jason Lee
In this project, I apply Delaunay Triangulation, image dissolving/warping, and image transformations to create gifs that can show morphing between two faces.
Part 1 - Defining Correspondences
In this example, I will be using a picture of myself and the actor, George Clooney.
In this part, I label corresponding landmark points between my source (myself) and target image (George Clooney), the two images I’d like to warp together. This is crucial because during the image warping process, these landmark points are always aligned so the face will retain its structural appearance. To label these correspondences, I use the online image correspondence labeler on the class website to label the landmark points in this image of myself and George Clooney.
Here are the labeled points:
I found that labeling the points around the face as well as points inside or surrounding key facial features, such as eyes, nose, mouth, or eye-brows, were the most helpful in retaining the face’s structure.
Next, we compute a Delaunay Triangulation:
Part 2 - Computing the “Mid-Way Face”
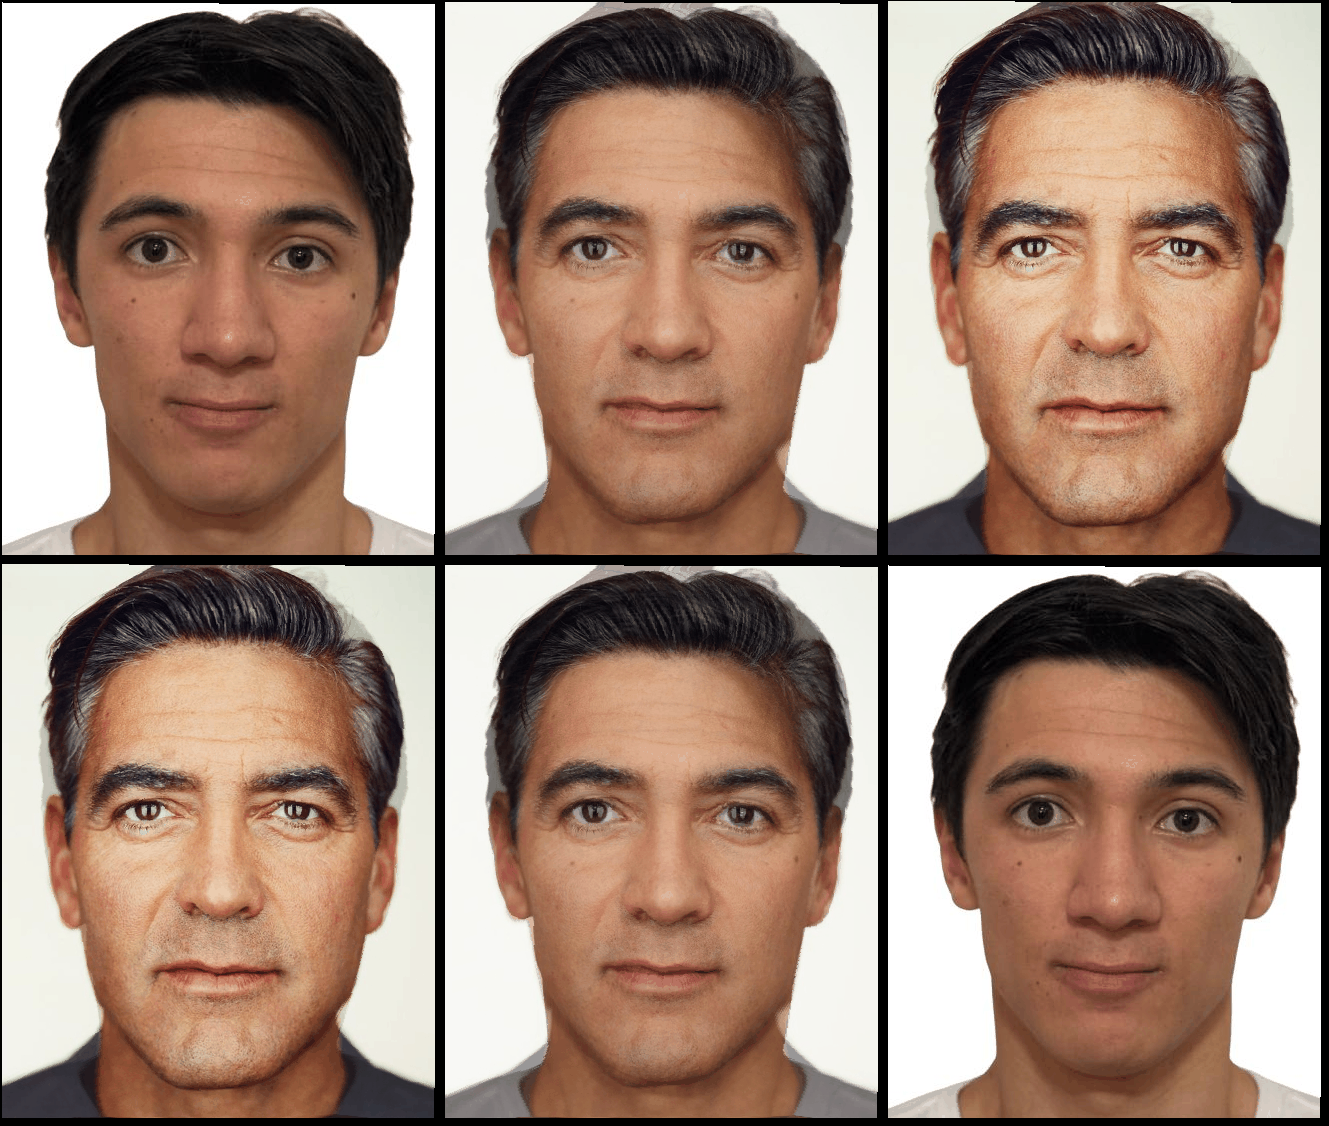
In Part 2, I computed the mid-way face by applying an inverse affine transformation on the source image using the midpoints, the average of the source and target image’s points. I computed the warping using this inverse affine transformation on both images, shown below:


Then, to get the mid-way image, I dissolved the images by computing the average of these two warped midpoint images. Here’s my result:
Part 3 - The Morph Sequence
To generate the morph sequence, I use the morphing function from Part 2 and varying the warp_fraction and dissolve_fraction parameters. These control what proportion of the warping/dissolving comes from the source image. Here is a gif of a sweep from 0 to 1 simultaneously for both parameters.
Part 4 - The “Mean Face” of a Population
In this part, I computed the mean face of a subset of faces from the FEI dataset, as well as the mean face of all the female faces. According to its website, the FEI dataset is a “Brazilian face database that contains a set of face images taken between June 2005 and March 2006 at the Artificial Intelligence Laboratory of FEI in São Bernardo do Campo, São Paulo, Brazil.” In my experiments below, I used a subsample of 50 males and 50 females, each labeled with 46 correspondence points.
To compute the average face, I first average all the faces’ labeled corresponding points together to get an average face shape. Then, I warp all the images by applying a transformation from the image’s points to the end of it. Finally, I average all the warped images together to get the average face.
Here is the average face of all the neutral faces and neutral females in the dataset:
For my experiments, I will be using the average of all smiling faces.

Check this out! Now, I can morph an image of someone with a completely different facial expression into this average smiling face structure by performing a structural warp. For example, see below where I morph an image of a neutral female, a neutral male, and a smiling male:
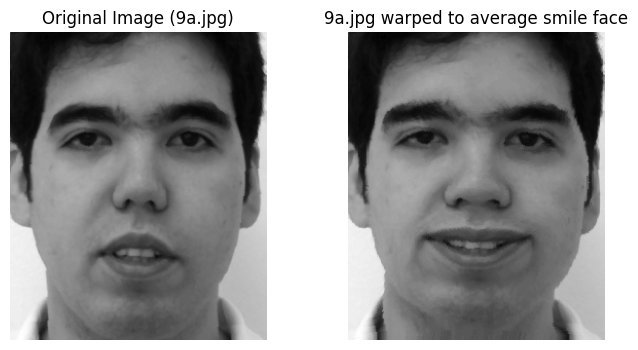
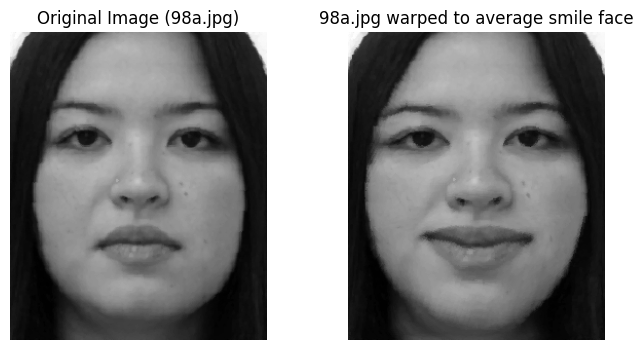
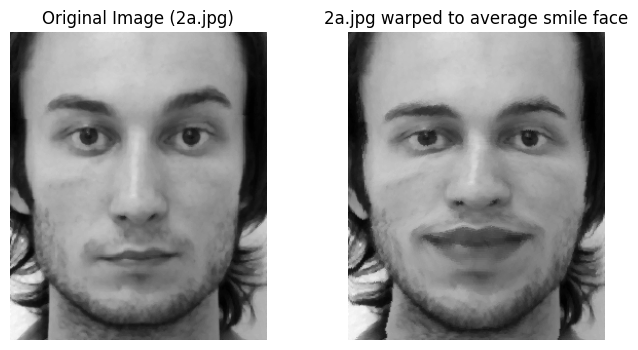
Look at that! They are all smiling :)
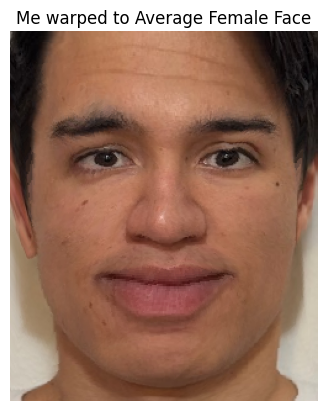
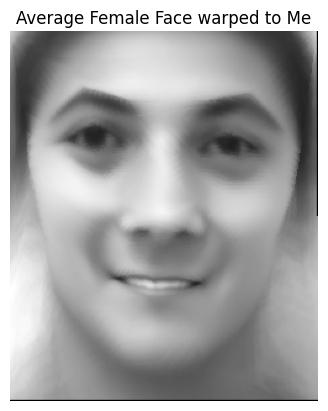
Finally, I use a picture of myself and warp myself to the average smiling image, as well as warp the smiling image to myself. Note that I had to relabel my image to match the correspondences of the FEI dataset. As for why the warping seems a bit strange in the images below, when I was labeling my face's points, it is possible I was a bit clumsy with labeling my eyebrows which is why this algorithm appears to be so keen on making fun of them.
Part 5 - Caricature
To create a caricature of myself, I compute the following:
To make this a caricature, I set alpha to a high value that is > 1, which will emphasize my own personal features compared to the mean (because I’m emphasizing the difference).
Here is my result with alpha = 2:
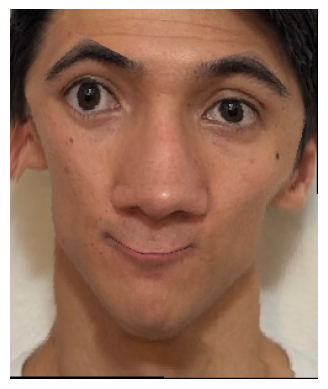
How silly!
Part 6 - Bells & Whistles
In this last part, I complete the first bells and whistles option, which is:
“Change age/gender/ethnicity/smile/etc of your (or your friend's) face. You can use average images off the web for this, no need to recompute the averages yourself (unless you want to). Show morphing just the shape, just the appearance, and both.”
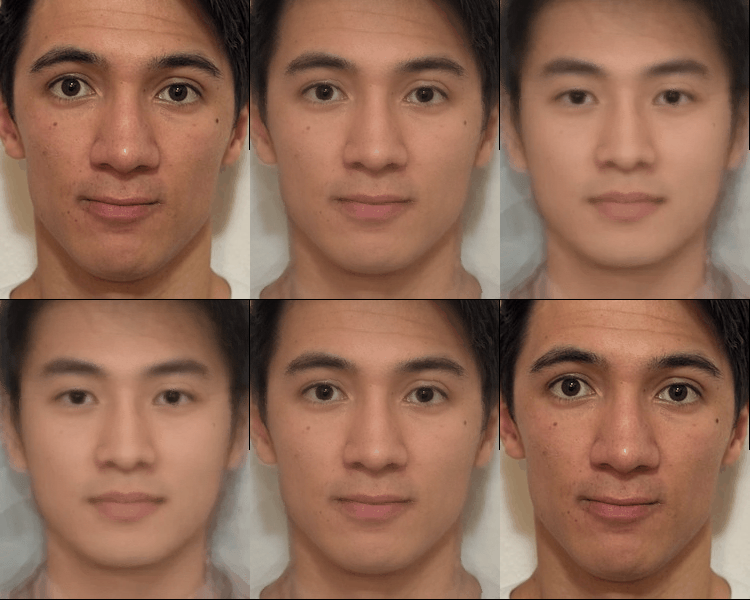
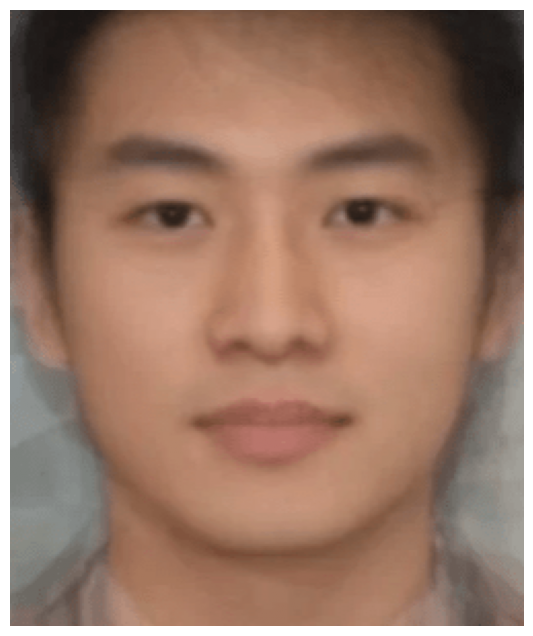
I’m half British and half Chinese, and I’ve always wondered what I’d look like if I was more Chinese. So, on the internet I found an image of the average Chinese male (shown below). I tagged the point correspondences just like in any other image in the FEI dataset and performed the exact same morphing procedure formed above, except setting the warp_fraction and dissolve_fraction to 0 or 1, depending on what type of morph I wanted to achieve.
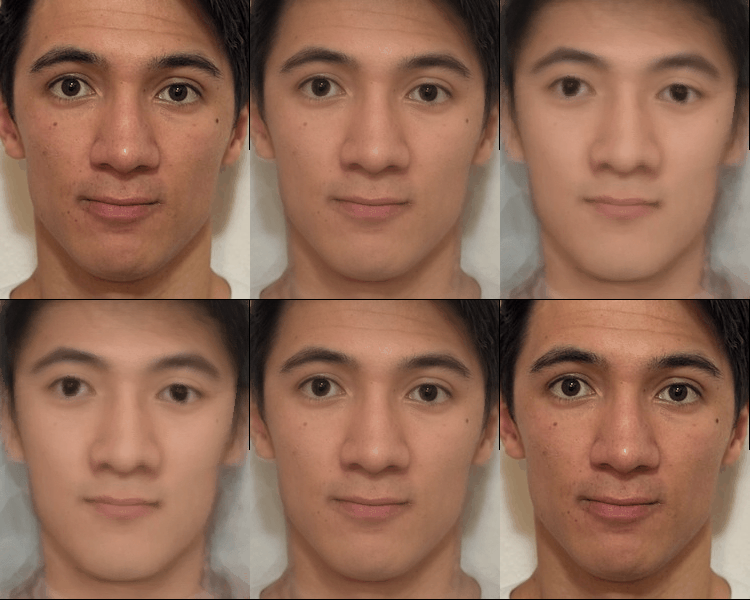
Here is a gif of morphing myself into the average Chinese male using just color:
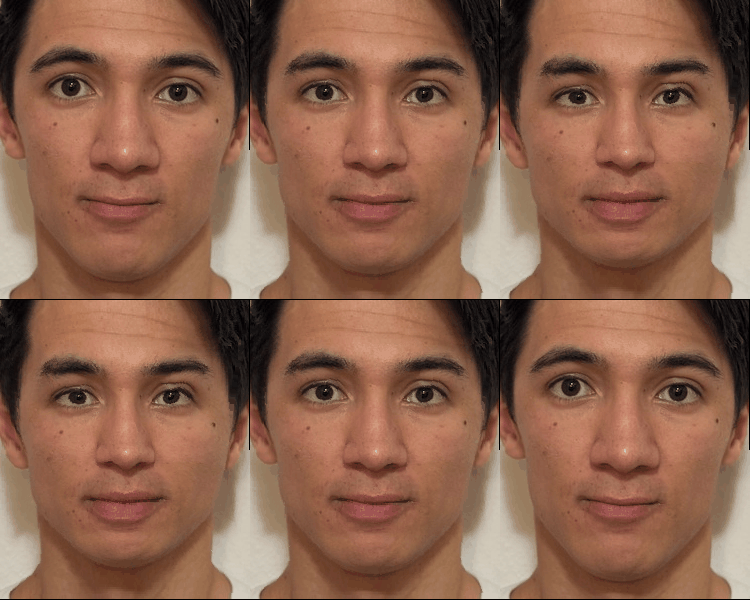
Here is a gif of morphing myself into the average Chinese male using just shape:
And finally, here is a gif of morphing myself into the average Chinese male using both shape and color!
